Why Nordic skiers need video
Nordic skiing is a sport of thousands of repeated cycles. A small inefficiency in weight transfer or pole timing, repeated over a 10K, costs real time. Skiers rarely feel it, and coaches can only watch a short section of the course at once. Video lets you freeze a cycle, compare sides, and track technique across a season from rollerskis in summer to snow in winter.
Under the current NCAA format, Nordic results in classic and freestyle (skate) races count toward the same team score as alpine, so improving technique matters for the whole team.
How to film Nordic technique
- Film side-on, square to the track, on a steady tripod at about hip height.
- Frame at least two full cycles, so you can see the whole movement and both sides where relevant.
- Choose terrain that matches the technique: flat or gentle terrain for V2 and double poling, moderate climbs for V1 and diagonal stride.
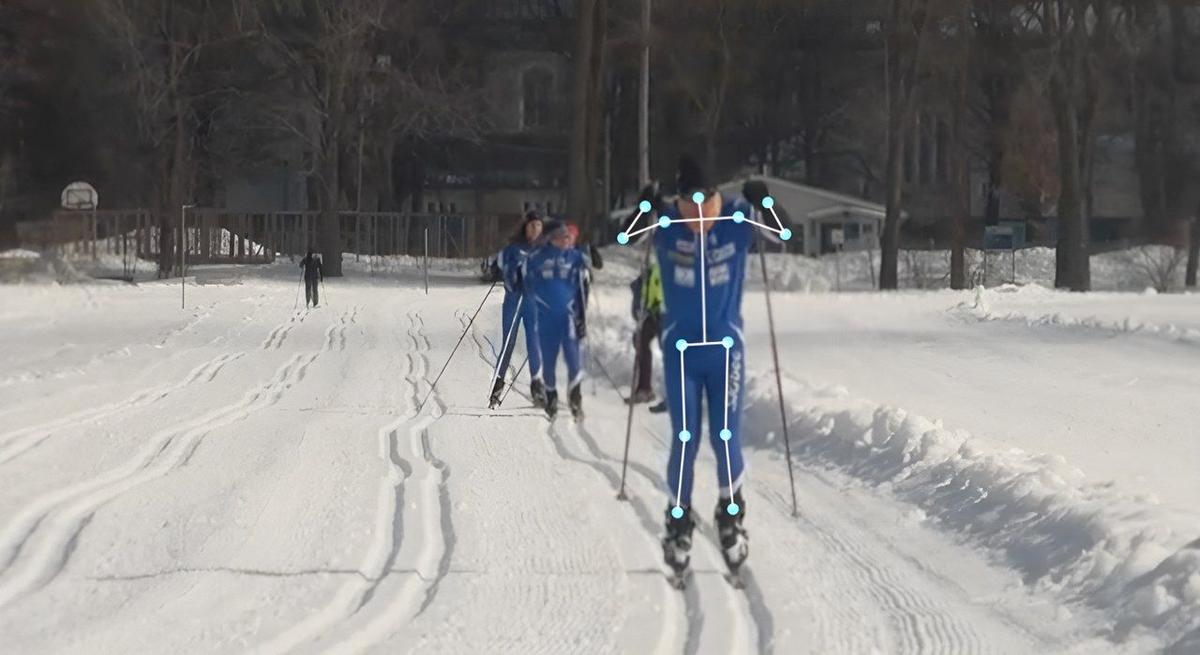
- Add a front or back view to check side-to-side balance and symmetry in skating.
- Film the same section from the same spot each session.
- Say the skier's name at the start of the clip. In Sprongo, a name spoken in the first 5 seconds is tagged automatically.
Rollerski sessions work the same way, which makes dryland training a great time to build a video baseline.
Skate technique: what to check
Common skate techniques, using the usual US names, include V1 (offset) on climbs, V2 (one skate) on flats and gentle terrain, and V2 alternate (two skate) for speed on varied terrain. Names differ in some countries.
For each, check:
- Weight transfer: does the skier commit fully to the gliding ski, with hips over the foot, or stay between the skis?
- Glide: a long, balanced glide on a flat ski before the next push.
- Push-off: direction and completion of the leg push.
- Pole timing: poles planted at the right moment relative to the legs for that technique.
- Body position: forward ankle and knee flex, an active upper body, without bending only at the waist.
- Symmetry: are both sides the same, or does one side push or glide less?
Classic technique: what to check
Common classic techniques include diagonal stride, double poling, kick double pole and herringbone on steep climbs.
- Diagonal stride: a quick, complete kick, full weight transfer onto the gliding ski, and coordinated opposite arm and leg.
- Double poling: using the body and core to load the poles, not just the arms, and a smooth recovery.
- Kick double pole: timing of the single kick with the pole push.
- Posture: hips forward over the feet, rather than sitting back.
Path Track: see the cycle
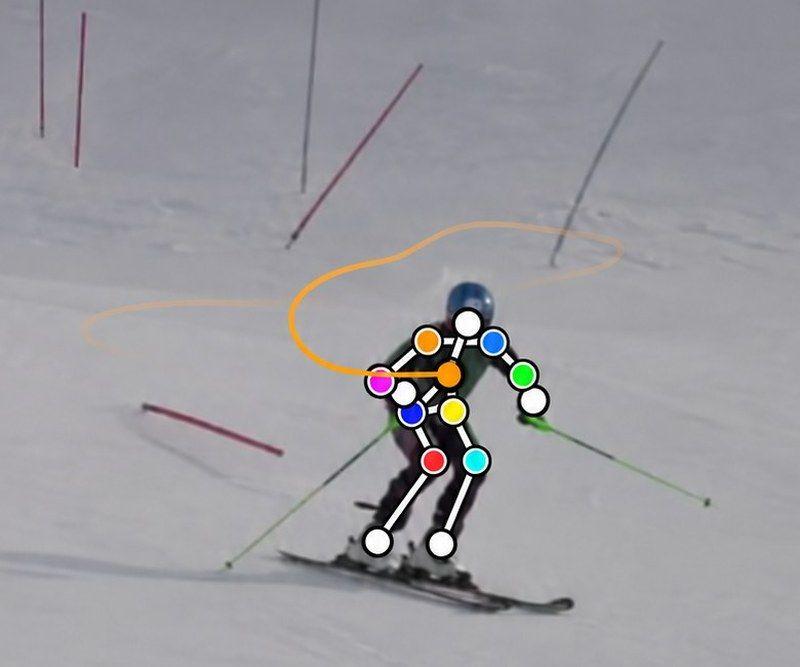
In Sprongo, Path Track traces the center of mass or any joint through the movement, in the color you choose, with joint angles shown on the athlete.
- Trace the center of mass to see weight transfer from ski to ski in skating, and how much the skier bobs up and down.
- Trace the knee or ankle to compare flex on the left and right sides.
- Trace the hip in double poling to see how much the body contributes.
Ask SIVA about one cycle
SIVA, Sprongo's AI video assistant, answers a focused question about a clip using the movement data in it. Select a joint, choose the moment and ask, for example:
- "In this V2, is my weight over my gliding ski?"
- "Is my knee flex the same on my left and right skates?"
- "How much do my hips move forward during double poling?"
SIVA tells you what it noticed and suggests a next focus. It reads 2D video, so a side-on view of full cycles works best. It supports your coach; it doesn't replace them.
Compare cycles, sides and seasons
In Sprongo, pick Compare from any clip, sync two clips and slow them down to see exactly where they split, side by side or overlaid. Good comparisons:
- Left side against right side in skating.
- The start of a hard interval against the end, to see fatigue.
- Summer rollerskiing against winter snow.
- A skier against a teammate with the technique you want.
Line both clips up on the same moment, such as the pole plant.
Feedback the team will use
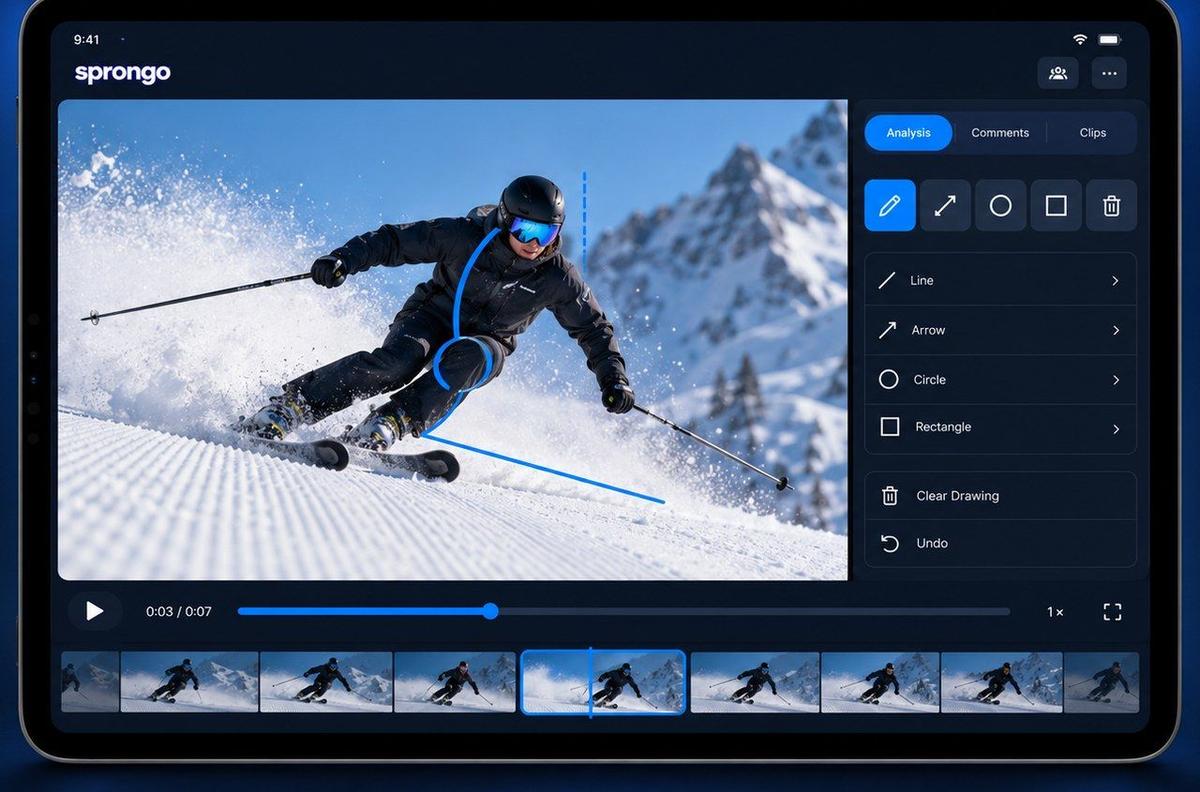
Draw on the frame, leave a voice note, and share the exact moment with each skier, so they can review before the next session. Mark key frames with a Moment and keep a playlist per skier for video meetings.
Sprongo works the same on iPhone, Android, tablet and the web, so you can film at the trail and review on a laptop back at the hotel.
Team plans for ski programs
College ski programs combine Nordic and alpine squads, several coaches and a lot of travel. Team workspaces give you shared libraries and team playlists, member management and coaching annotations. Team plans are purchased on the web: Small Team $49 a month for up to 20 members, Large Team $99 for up to 100, and Extra Large $159 for up to 300.
Common mistakes
- Filming only one cycle, or the skier coming straight at the camera.
- Filming technique on the wrong terrain for that technique.
- Comparing clips from different angles or terrain.
- Only filming fresh skiers. Film at the end of intervals too.
- Changing too many things at once.
Start your season baseline
Film a side-on baseline on snow or rollerskis, then compare back to it all season.
Talk to us about a team plan · Get PRO, $10/month · App Store · Google Play