Match film is not enough for technique
College soccer already produces a lot of video. Most of it is match film, filmed wide, built for tactics, shape and recruiting reels. That footage is useful, and it is a poor way to study a first touch, a driven pass or a struck shot. From the stands or a high press-box camera, the plant foot, the hip and the last step disappear.
Technique work needs its own clips: a still camera, close enough to see the ball and the body, of actions the player repeats in training. This guide is about filming and reviewing those actions. It is not a tactics session, and it is not a substitute for our college recruiting video guide when the job is a highlight tape.
The same ideas apply to NCAA men's and women's soccer, and to junior-college and club players who are trying to get ready for that level. The sport is the same. The standard for a clean first touch under pressure is just higher.
How to film so the technique is visible
Leave the wide tactical camera where it is. For technique, set up a second view that you control.
- Keep the camera still. A tripod, a bag or a fence is better than a coach walking with the phone.
- Get the player, the ball and a step or two of approach in frame. Cut off the plant foot and you cannot review the kick.
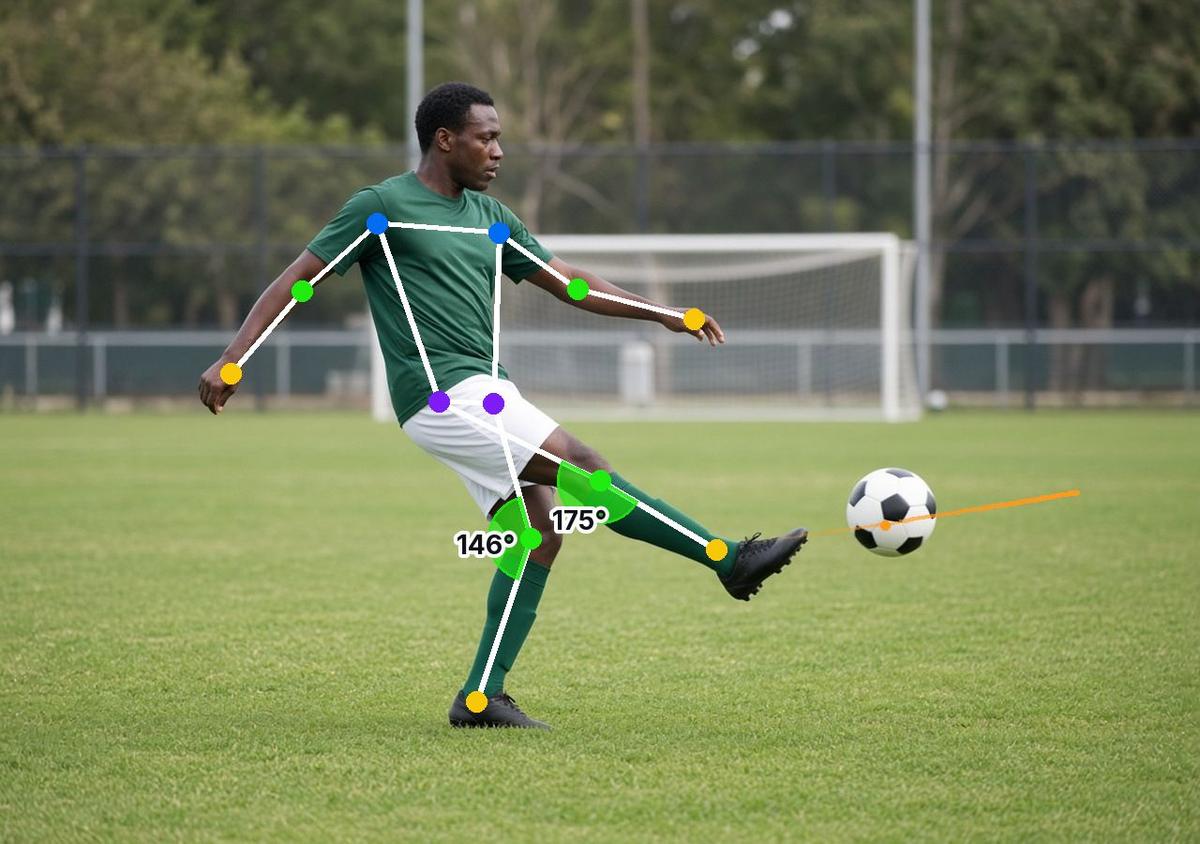
- Side-on, or a slight 45-degree angle, is the main view for striking and passing. It shows the plant foot, the hip, the swinging leg and the follow-through.
- A more front-on view can help for first touch and for seeing whether the first contact takes the ball into space, but it hides the striking mechanics.
- Put the camera about hip to chest height, not on the ground.
- Film in consistent light. A low sun behind the kicker turns the ball and the plant foot into a silhouette.
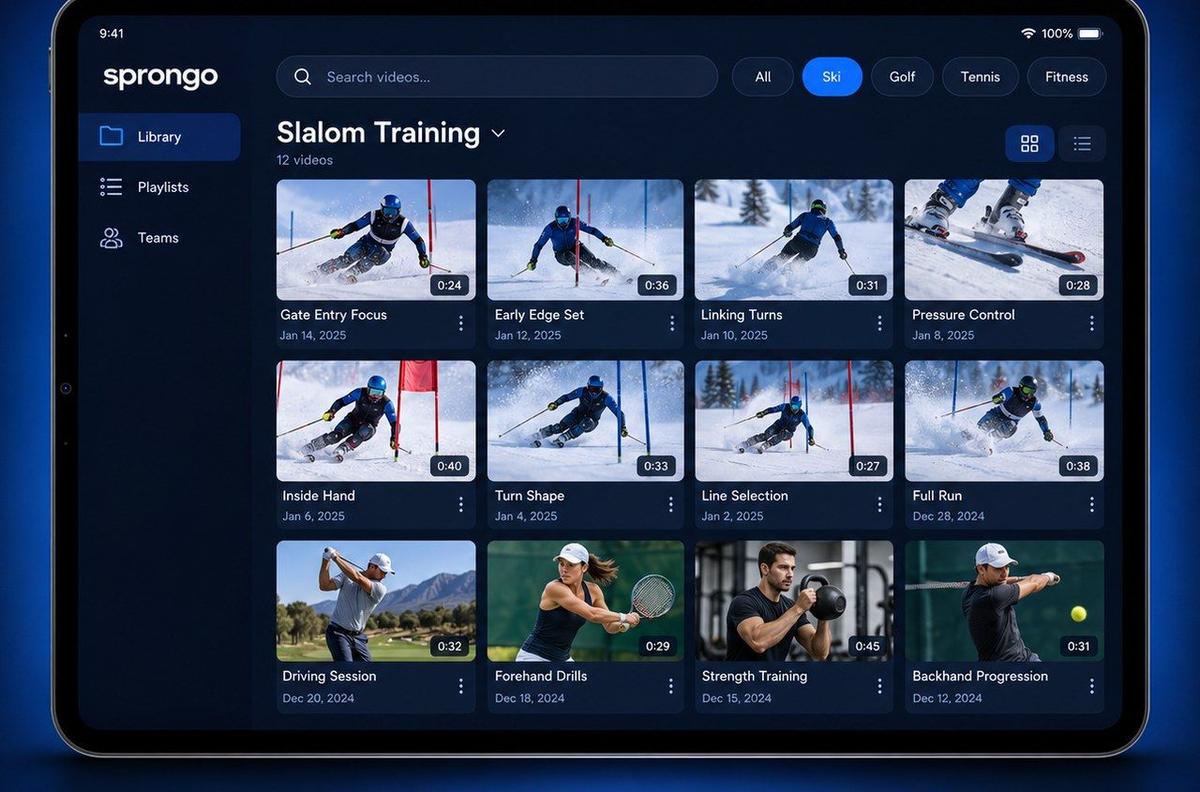
- Record short sequences: a set of driven passes, a round of finishing, a first-touch drill. Label them by player, action and date. In Sprongo, a name spoken in the first 5 seconds of a clip is tagged automatically.
For finishing, you can also put a camera slightly behind and to the side of the kicker, so you see the run-up and the ball leaving, as long as the plant foot stays visible and nobody is shooting toward the lens.
Do not try to judge technique from an 11-v-11 wide shot. Pull the action into a training drill, or clip a tight moment from a small-sided game only if the angle actually shows the contact.
First touch: what to look for
A college first touch has a job: take pressure off, or set up the next action, in one contact. On video, watch the moment before the ball arrives as closely as you watch the contact.
Check:
- Body shape: is the player already open to the next action, or square and late?
- The surface: is the touch using the intended surface (inside, outside, sole, thigh), or a bobble that has to be rescued?
- Distance: does the first touch leave the ball where the player can play it with the next step, or too far, or stuck under the feet?
- Head and eyes: does the player take a look at space or pressure before or just after the touch, or stay locked on the ball?
- The second action: is the next pass, dribble or shot already prepared, or does the player need a second touch they did not plan?
A useful comparison is a comfortable touch in a passing pattern against a first touch under a closer approaching defender. The mechanic should not collapse the moment the drill gets more game-like.
Passing: what to look for
For a driven or side-foot pass, slow the clip down at the last step and the contact.
- Plant foot: is it beside the ball, pointing toward the target, or is it too far and forcing the player to reach?
- Ankle and foot: is the striking surface firm, or is the ankle collapsing at contact?
- Hips and shoulders: are they supporting the intended pass, or is the player passing across a closed hip and hoping?
- Follow-through: does the swinging leg travel toward the target, or cut off early?
- The ball: does it leave with the intended height and pace, or spin up because the contact was under the ball?
For longer driven balls and switches, also watch the approach: a consistent run-up is easier to correct than a different last step on every ball. Film a set of five or six repeats to the same target rather than one mixed rondo in which no two passes are the same action.
Shooting: what to look for
Finishing is where players most want a verdict, and where a bad camera angle is most misleading.
From a side or 45-degree view, check:
- The last step: is it long enough to let the hips through, or is the player under the ball?
- Plant foot: distance from the ball, direction, and whether the plant is stable.
- Hip and chest: is the player over the ball for a driven shot, or leaning back and lifting it?
- Contact: which part of the foot meets which part of the ball, and does that match the shot they meant to hit?
- Follow-through and landing: does the body travel through the shot, or does the player stop and watch?
For volleys and half-volleys, pause at the height of the ball at contact. For heading, be conservative: use video to look at the approach, the timing and the surface, and do not pile up extra heading volume just to get a clip. If a player has any history of head injury, follow your medical staff's guidance.
Goalkeepers deserve their own session. If you film a keeper, use a still camera that sees the starting position, the first step and the hands, and review one action type at a time (low ball, high ball, set-position) rather than a whole shooting gallery.
A review routine that fits a college week
College schedules are crowded. A short, regular review is more realistic than a long meeting after every training.
- In one technical session, film a single action for a small group: first touch, a driven pass, or a specific finishing pattern.
- Watch the set once at full speed, then pick one repeat to slow down.
- Compare a good repeat with a poor one from the same session, lined up on the plant foot or the first contact.
- Give one cue. Take that cue into the next set, and film two more repeats if you have time.
- Once a block, compare a current finishing or passing clip with one from earlier in the season.
In Sprongo, pick Compare, sync the two clips and view them side by side or overlaid. Path Track can trace a hip, a knee or an ankle through the kicking action. SIVA, Sprongo's AI video assistant, can answer a focused question such as "Is my plant foot beside the ball on this shot?" or "Does my hip stay closed through this pass?" It reads 2D video, so a wide or shaky clip limits what it can see, and it does not replace a coach or measure shot speed.
Draw on the frame or leave a voice note, and share the moment with the player. In a program, a shared library with playlists by player or by action is more useful than clips sitting in a staff group chat.
If you also need a recruiting tape, film technique work and matches as separate jobs. A clean side-on finishing clip can support a reel, but it should not be the only footage a college coach sees. The recruiting filming guide covers that.
Common mistakes
- Reviewing technique on wide match film and guessing at the plant foot.
- Filming from behind the goal during finishing, where you see the result and not the contact.
- Letting the camera move with the play, so no two clips can be compared.
- Correcting the first touch, the pass and the shot in the same breath.
- Only filming the player who already strikes the ball cleanly.
- Comparing two shots taken from different angles and calling it progress.
Frequently asked questions
Can we use existing match or Hudl footage for this? For decisions, movement off the ball and a general sense of a player's habits, yes. For first touch and striking mechanics, record a still, closer clip in training.
How many repeats should we film in one session? Five to eight of the same action is plenty. The point is a fair comparison, not a full archive of practice.
Does this work for wing play and crossing as well? Yes. Film from the side or from a 45-degree angle that sees the last step, the plant foot and the ball. A camera behind the crosser usually hides the contact.
Will this replace our tactical video meetings? No. It sits beside them. Tactical meetings still need match film. Technique meetings need tighter clips.
Can high school or club players use the same setup? Yes. The camera rules and the checkpoints are the same. The college standard is simply that the action has to hold up under more speed and pressure.
Film one action this week
Pick one technical action, set a still camera on the side, and review a handful of repeats with one cue. That is enough to start. The players who improve from video are usually the ones who see the same action, from the same angle, more than once.
Get Sprongo · App Store · Google Play
Coaching a program? See team plans.