Good analysis starts with good footage
The best coach in the world can't fix what the camera didn't catch. A clip where the feet are cut off, the athlete is a silhouette against the sun, or the phone wobbles through the key moment is a clip you'll watch once and delete.
The good news is that you don't need special equipment. A phone and something to lean it on are enough, as long as you follow a few rules. This guide covers the setup that works for most sports, and the small changes that make your clips far more useful for comparison and for AI feedback like SIVA in Sprongo.
The five rules that matter most
- Keep the camera still. A tripod is best, but a fence, a bag or a water bottle beats handheld. Movement in the camera looks like movement in the athlete.
- Get the whole athlete in frame, for the whole movement. Head to feet, with the equipment too: skis, bat, bow, oar. Check the frame at the highest and widest point of the movement, not just at the start.
- Film at about hip height. Too low or too high distorts angles, especially at the knees and hips.
- Put the light behind the camera. An athlete backlit by the sun or a bright window turns into a silhouette, and limbs disappear against the body.
- Film from the same spot every time. If the angle changes between sessions, you can easily mistake the new angle for a change in technique.
Which angle should you use?
Most sports need one of two views.
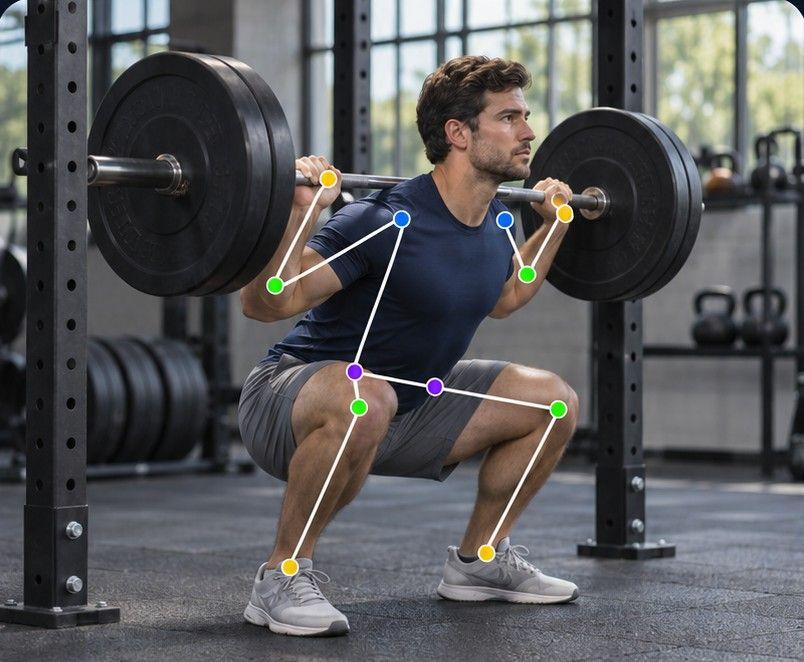
Side-on (from the side, square to the direction of travel) shows depth, timing and the joint angles of the legs and hips. Use it for running, jumping, rowing, swings, throws and most lifts. It's the best first angle for almost any sport.
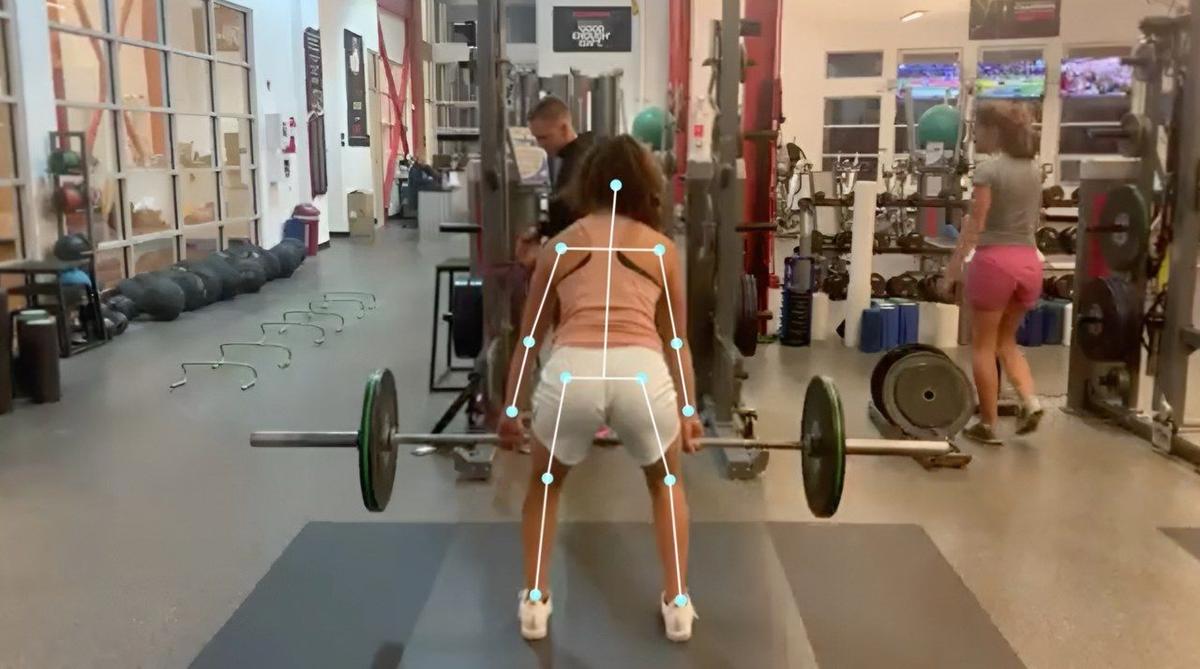
Front or back (facing the athlete or from behind) shows alignment and balance: knees caving in, hips dropping, shoulders opening early, the line of a throw or a shot. Use it for archery, skiing straight at the camera, golf and tennis, and anything where symmetry matters.
You don't need two cameras. Film one rep from the side and the next from behind. Two angles of two reps usually tells you more than one angle of ten.
Sport-by-sport starting points
- Skiing: film from the side of the slope, far enough away to keep the skier in frame through a full turn. For two runs you plan to compare, stand in the same spot.
- Archery: film side-on at full draw, and a second clip from behind the archer to check alignment.
- Baseball and softball hitting: side-on, so you can see the front knee from foot plant through the swing.
- Long jump: side-on at the board, far enough back to see the last steps, the plant and toe-off.
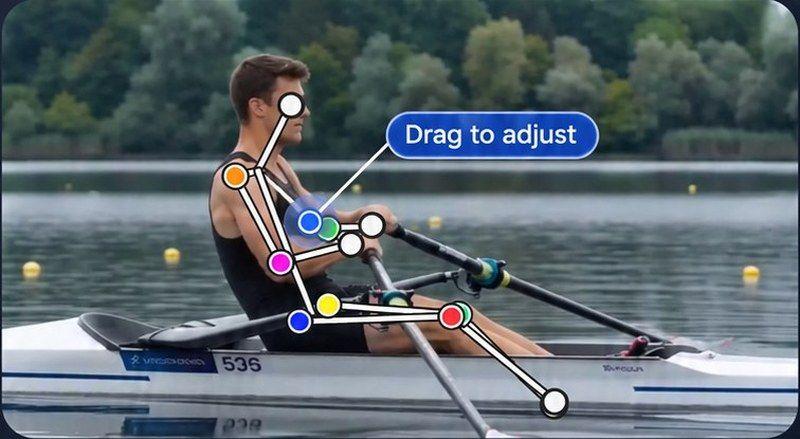
- Rowing: side-on, level with the athlete, to see the catch through the drive.
- Race walking: side-on to check the lead knee from foot contact until it passes under the body.
- Gym lifts: side-on for squats and deadlifts; from the front to check the knees.
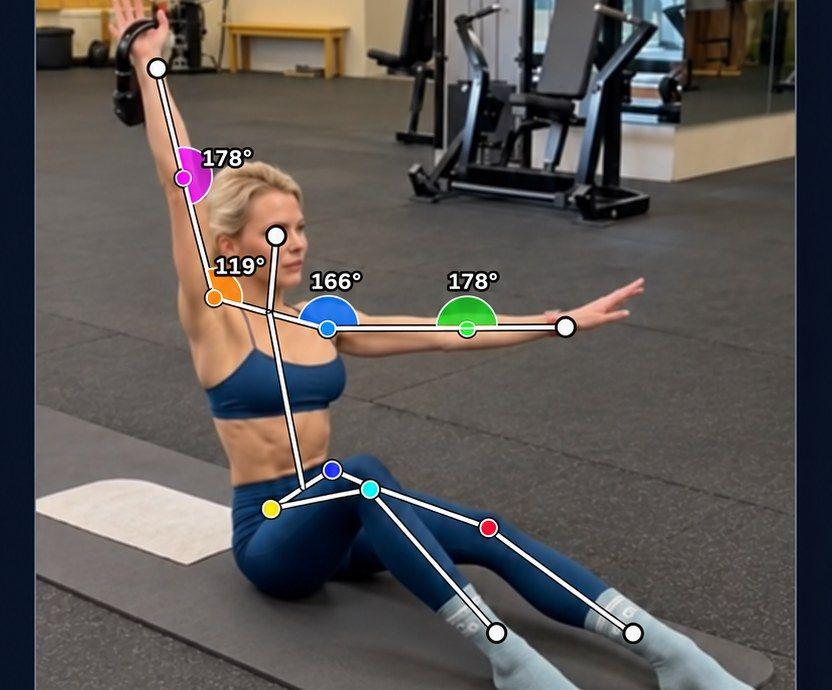
These match the examples we recorded in Sprongo, and the same thinking works for any sport you can film.
How far away should you be?
Far enough that the athlete fills about half to two-thirds of the frame height, with room above the head and below the feet. Too close and you'll crop the feet or the equipment; too far and the joints become hard to see. If you need to get closer, move the phone rather than zooming in a lot, which reduces image quality.
For movements that travel, like a ski turn or a long jump approach, stand further back and let the athlete cross the frame. Panning to follow them is fine for a ski run, but keep it smooth.
Frame rate and slow motion
Standard video is usually 30 frames per second. For most technique work, 60 fps is a good default and works on almost every modern phone. For very fast moments, like bat-on-ball contact or an arrow release, 120 or 240 fps can help, but high frame rates need lots of light. Indoors or late in the day, drop back to 60 for a cleaner picture.
Landscape or portrait?
Landscape suits most sports because movement usually travels sideways. Portrait can work for vertical movements in a tight space, like a lift. Whichever you choose, stick with it across sessions so your clips compare fairly.
Make your clips easy to find later
Filming is only half the job. A camera roll full of untitled clips is where good footage goes to die. A few habits keep it useful:
- Say the athlete's name at the start of the clip. In Sprongo, a name spoken in the first 5 seconds is tagged automatically.
- Upload after the session, not at the end of the month. Sprongo's faster uploads get the clip from your phone into your library and ready to review sooner.
- Tag by session or skill, star the best reps, and add the key moment as a Moment so you can jump straight to it.
- Group clips into playlists, for example "Turn entry, December" or "Full draw stability".
Why this matters for AI feedback
SIVA, Sprongo's AI video assistant, reads the 2D video, so camera position and how clearly the athlete is visible affect what it can see. A stable camera, the athlete fully in view and good light give SIVA the best chance of a useful answer. The same is true for Path Track, which traces a joint or the center of mass through the movement.
In short, film for your coach and you're filming for SIVA too.
Quick checklist before you press record
- Phone steady, at hip height
- Athlete and equipment fully in frame at the top and bottom of the movement
- Light behind the camera
- Same spot as last session
- Side-on first, then front or back
- 60 fps, or higher only in bright light
- Name said in the first 5 seconds
Put your footage to work
Once your clips are clean, the rest gets easy: compare two attempts, pick the moment that matters and agree one next step. Sprongo PRO gives you your own video library, Compare, Path Track and 3 SIVA feedbacks a month, for $10 a month or $60 a year, on iPhone, Android, tablet and the web.