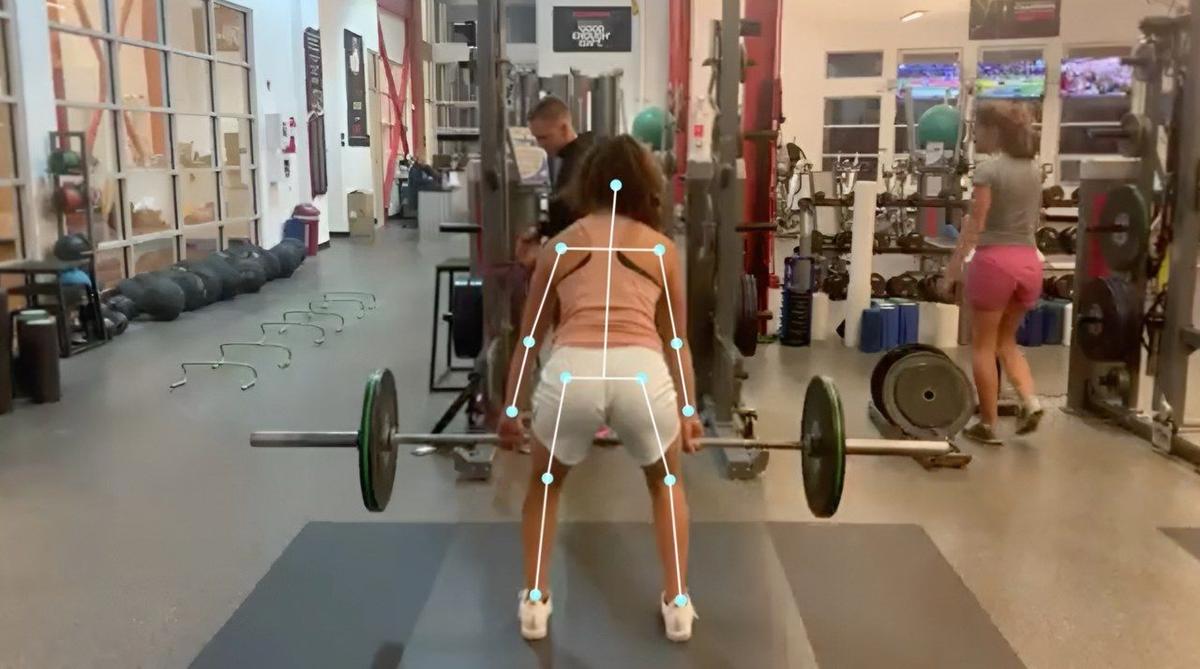
Squats and deadlifts feel very different from how they look. Under load, most lifters can't tell whether they hit depth, whether their hips shot up first, or whether their back stayed flat off the floor.
Why film your lifts
Mirrors don't solve it. You can't watch yourself from the side mid-rep, and turning your head changes your position. A phone can. A few seconds of video show exactly what happened on every rep, so you and your coach can stop guessing.
Set up the camera
The camera angle decides what you can see. Use two views. If you only have one phone, film them on different sets.
| View | Where to put the phone | What it shows |
|---|---|---|
| Side-on | 90° to the lifter, hip height, 2–3 m away | Depth, hip and knee angles, back position, bar over the mid-foot |
| 45° front | Halfway between front and side, same height | Knees tracking, side-to-side shifts, one hip rising first |
| Straight on | Directly in front | Avoid as your only view: it hides depth and back angle |
For both views:
- Stable and level. A tripod or bench at hip height, never on the floor pointing up.
- Everything in frame. Whole body and the whole bar, plates included, at the top and bottom of the rep.
- Light in front of you. A bright window behind the lifter turns them into a silhouette.
- The whole set. Form usually changes on the last reps.
- Same spot every session, so clips compare fairly.
Tip: say your name, or your client's, at the start of the clip. In Sprongo, a name spoken in the first 5 seconds is tagged automatically, so clips sort themselves.
Squat: what to check
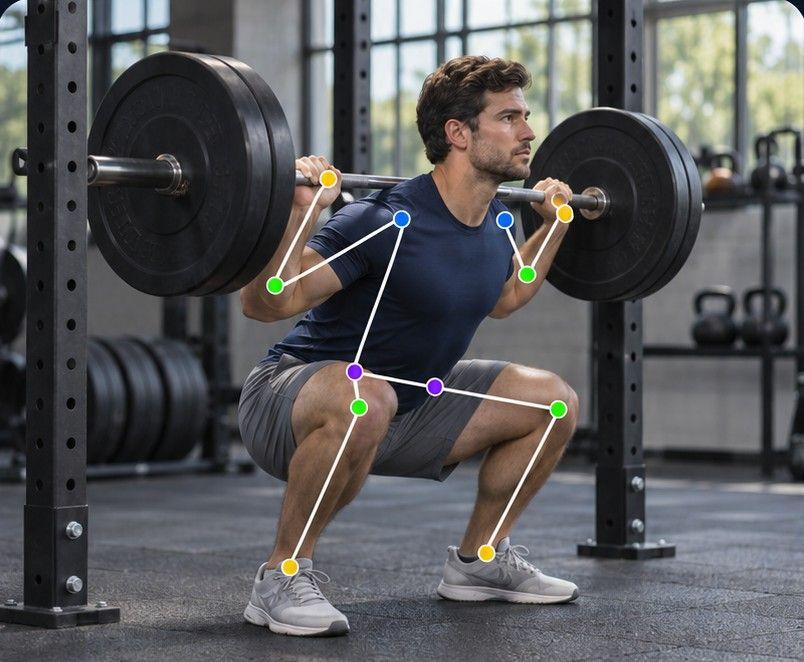
Watch each rep once at full speed for rhythm, then slow it down. From the side:
- Depth. Where the hip crease sits relative to the top of the knee at the bottom. How deep you need to go depends on your goals, so agree the target with your coach.
- Hips and chest rising together. If the hips shoot up first and the chest tips forward, the squat turns into a good morning.
- Back position. A neutral spine through the rep, without the lower back tucking under at the bottom.
- Balance. The bar travelling roughly straight up and down over the middle of the foot.
- Heels. Staying down for the whole rep.
From the 45° view, check that the knees track in line with the toes without caving in on the way up, and that the weight doesn't shift to one side.
Deadlift: what to check
From the side:
- Start position. Bar over the mid-foot and close to the shins.
- Off the floor. A neutral back as the bar breaks from the floor, without the lower back rounding.
- Hips and shoulders together. The hips shouldn't shoot up and leave the back to do the work.
- Bar path. Close to the legs and roughly vertical, with no swing out in front.
- Lockout. Standing tall with the hips through, without leaning back.
- The way down. Controlled and close to the body.
From the 45° view, look for uneven hips, twisting, or one side of the bar rising faster.
Safety first. Video is a coaching tool, not a spotter. Film with loads you control, use safety bars or a spotter on heavy squats, and stop if something hurts. If you have pain or an injury, see a qualified professional.
Trace the movement with Path Track
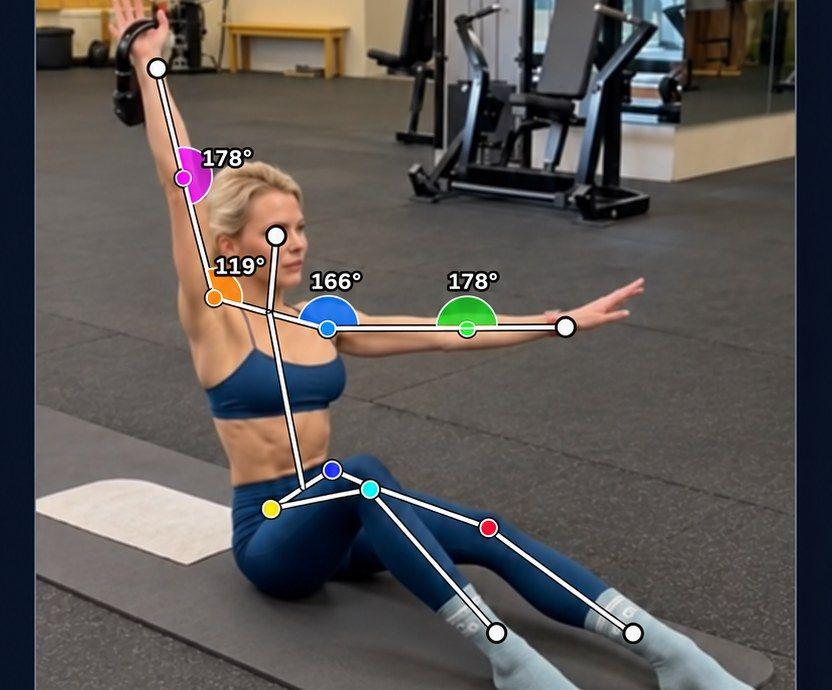
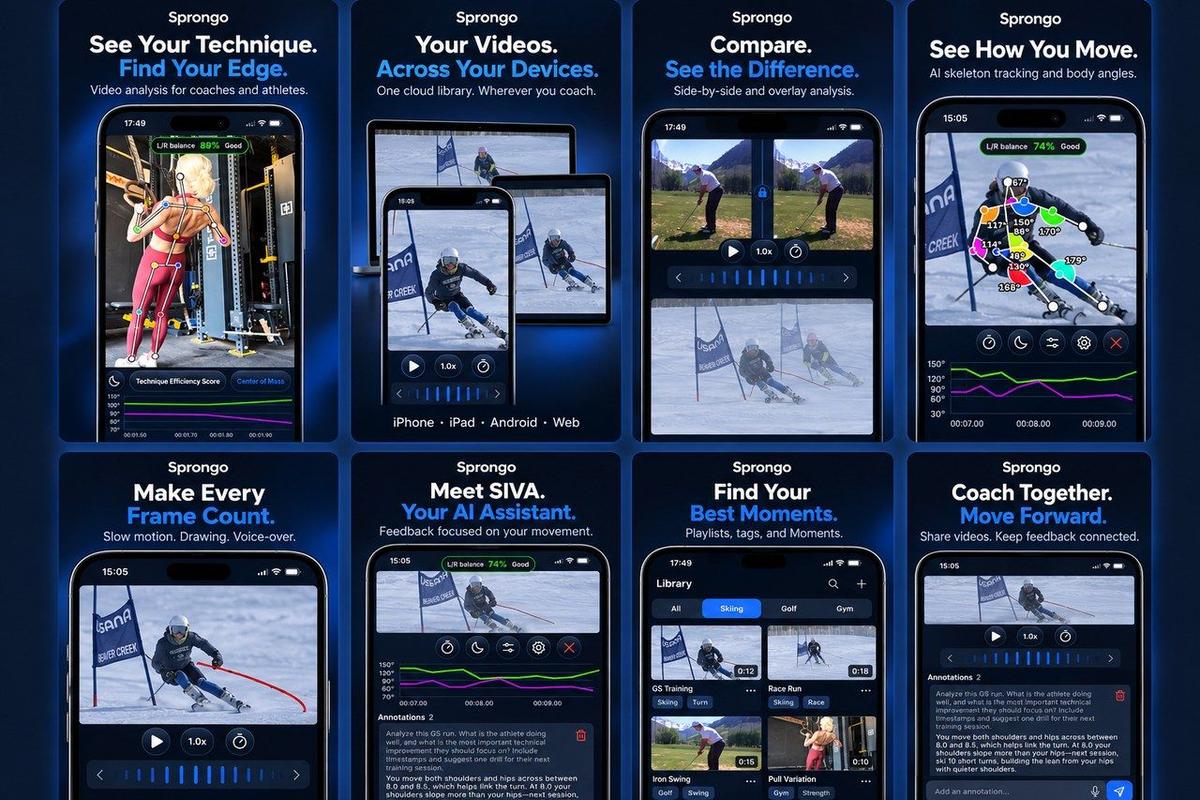
Single frames help, but a path through the whole rep shows patterns a still image misses. In Sprongo, Path Track traces the center of mass or any joint through the movement, in the color you choose, with joint angles shown on the athlete.
Useful traces for these lifts:
- Hip: does it rise before the shoulders?
- Knee: how far does it travel forward, and how does the angle change?
- Center of mass: does the lifter stay balanced over the foot?
- Wrist: a handy stand-in for the bar path on the deadlift, since the hands hold the bar.
Check your next set in Sprongo. Path Track, Compare and SIVA on iPhone, Android, tablet and web. PRO is $10/month, or $60/year (save 50%). Get PRO
Ask SIVA a focused question
SIVA, Sprongo's AI video assistant, answers a focused question about a clip using the movement data in it. Select a joint, choose the moment and ask, for example:
- "Do my hips rise faster than my shoulders out of the bottom of this squat?"
- "Does my knee angle change the same way on the first and last rep?"
- "Is my hip position the same at the start of each deadlift rep?"
SIVA reads 2D video, so the side view works best for depth and hinge questions. It supports your coach; it doesn't replace them. Each answer uses 1 SIVA credit, and PRO includes 3 a month.
Compare sets and sessions
Form changes are easiest to see side by side. In Sprongo, pick Compare from any clip, sync two lifts and slow them down to see exactly where they split, side by side or overlaid.
Comparisons worth making:
- First rep vs last rep of the same set, to spot fatigue.
- Warm-up vs heavy working set.
- This month vs last month, after a new cue or mobility work.
Line both clips up on the same moment, such as the bottom of the squat or the bar leaving the floor.
Before you press record
- Phone steady at hip height, 2–3 m away
- Side-on first, 45° front on the next set
- Whole body, bar and plates in frame
- Light in front of the lifter
- Same spot as last session
- Name said in the first 5 seconds
- Whole set recorded, not just one rep
- Safety bars or a spotter for heavy sets
Common filming mistakes
- Filming from behind or straight on, where depth and back angle are hidden.
- The phone on the floor pointing up, which distorts every angle.
- Cutting off the plates or the feet.
- Only filming the best rep.
- Moving the camera spot every week.
For personal trainers
The same workflow works with clients. Film them in the session, or have them film at home, then review the clip, draw on the frame, leave a voice note and share the exact moment. Feedback stays attached to the video instead of getting lost in chat threads.
PRO includes a group of up to 3 people. Coaching more clients? Team plans start at $49 a month for up to 20 members. See team plans
FAQ
What is the best camera angle for a squat or deadlift form check? Side-on, with the phone at about hip height and 2 to 3 metres away. It shows depth, hip and knee angles, back position and the bar over the foot. Add a second set filmed from about 45 degrees in front to check the knees and any side-to-side shift.
How many reps should I film? Film the whole working set. Form often changes on the last reps, and comparing the first and last rep is one of the most useful checks you can make.
Can an app check my form for me? In Sprongo, SIVA, the AI video assistant, answers a focused question about a clip and suggests a next focus. It reads 2D video, so camera angle matters, and it supports your coach rather than replacing them.
Do I need a tripod? A tripod is easiest, but any stable surface at about hip height works, such as a bench or a box. Avoid putting the phone on the floor pointing up, because it distorts every angle.
How much does Sprongo cost? Sprongo PRO is $10 a month, or $60 a year. It includes your own video library and analysis tools, a group of up to 3 people and 3 SIVA feedbacks a month. Team plans start at $49 a month for up to 20 members.
See every rep. Fix the next one.
Film your lifts, trace the hips and knees, compare sets side by side and ask SIVA what changed. One account on iPhone, Android, tablet and the web.