How do I use Sprongo AI Analyze tool?
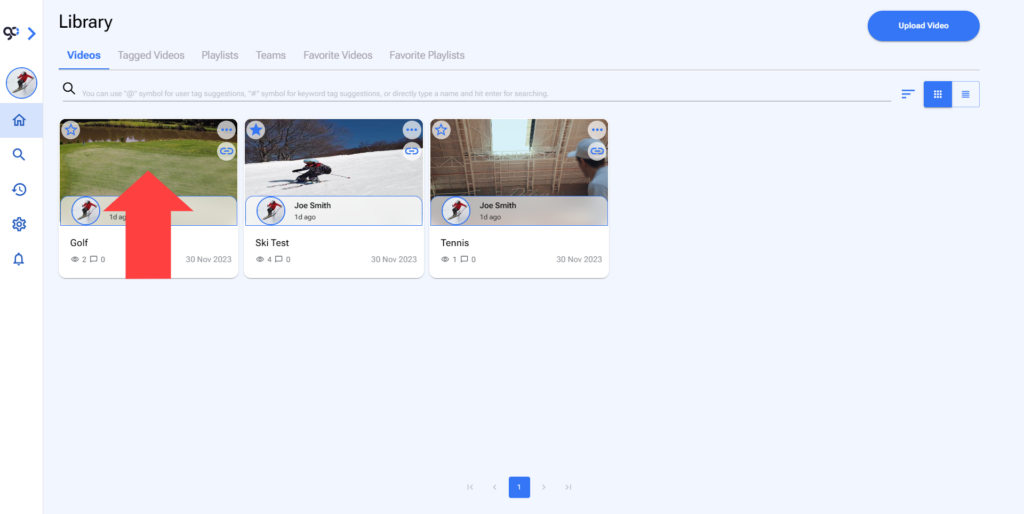
1. Open a Video
![](https://sprongo-blog.azurewebsites.net/wp-content/uploads/2023/12/56-1024x514.png)
![](https://sprongo-blog.azurewebsites.net/wp-content/uploads/2023/12/79-1024x514.png)
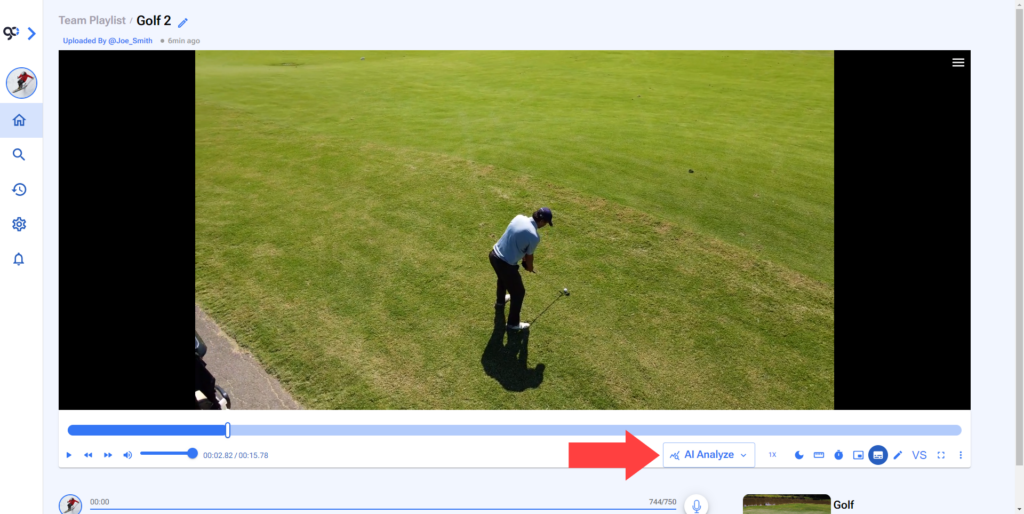
3. Select Single Frame or Interval.
![](https://sprongo-blog.azurewebsites.net/wp-content/uploads/2023/12/80-1024x514.png)
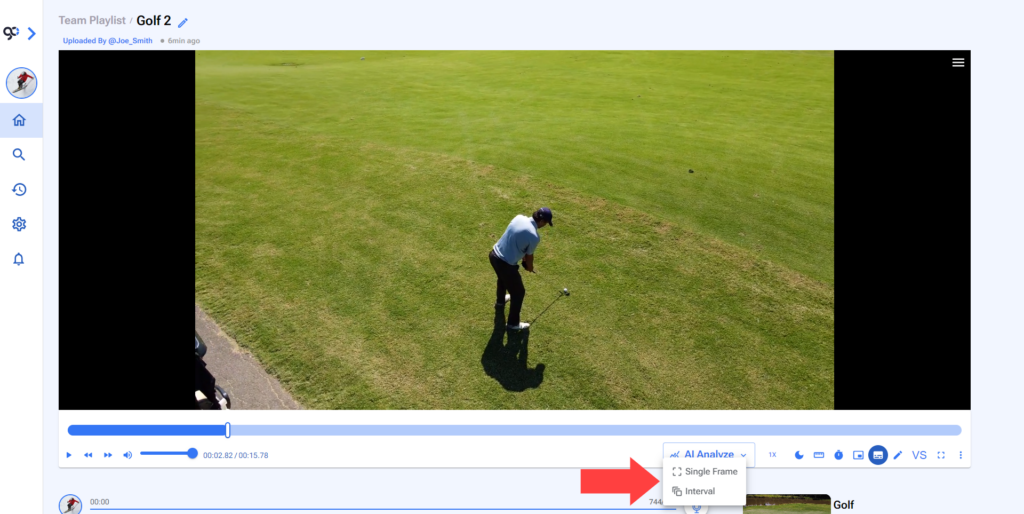
4. If you select Interval set the time markers and click Send.
![](https://sprongo-blog.azurewebsites.net/wp-content/uploads/2023/12/81-1024x514.png)
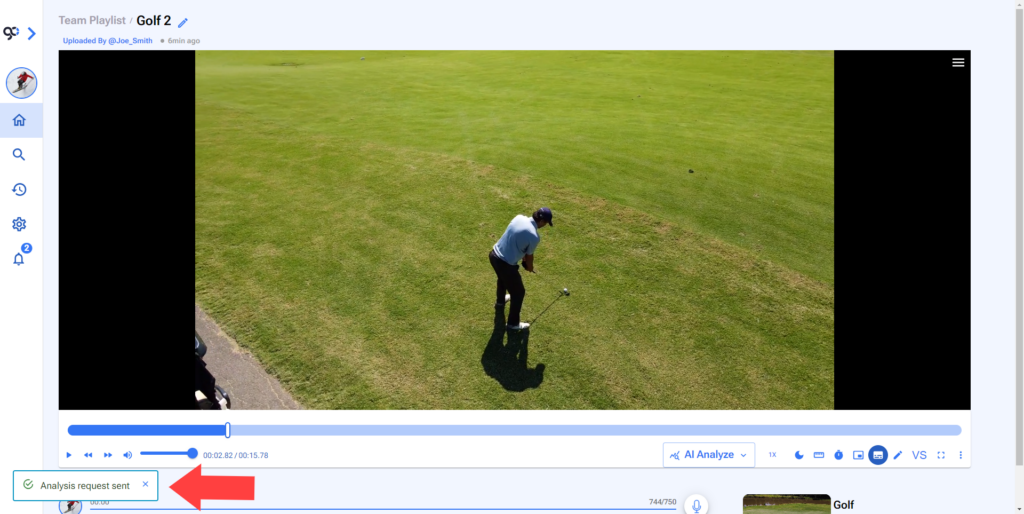
5. The analysis will be processed.
![](https://sprongo-blog.azurewebsites.net/wp-content/uploads/2023/12/82-1024x514.png)
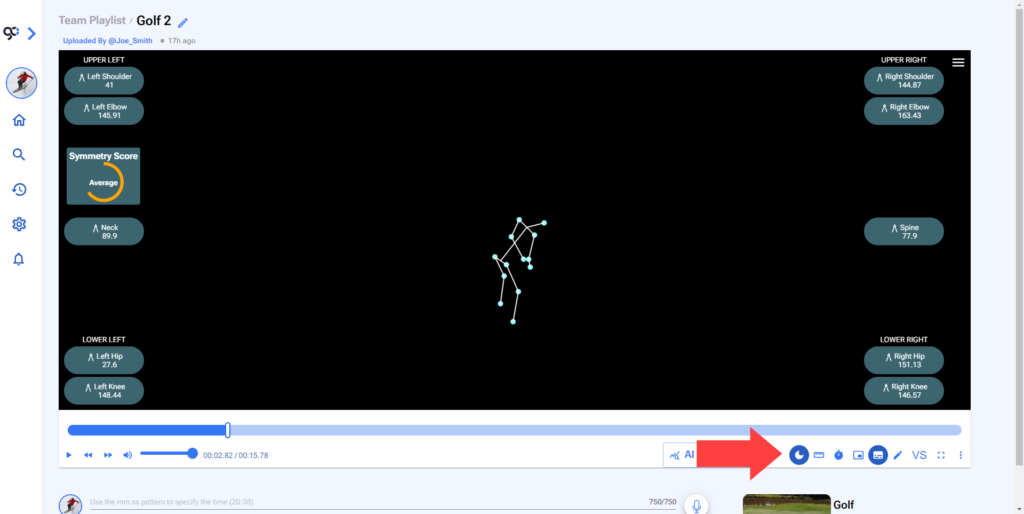
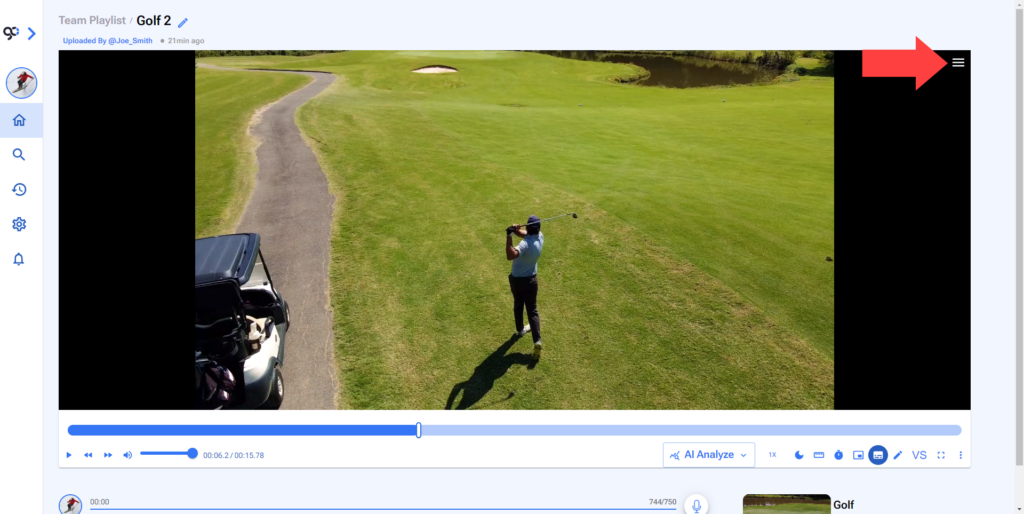
6. To see analysis on a video. Click the Hamburger Menu at the top right of the video.
![](https://sprongo-blog.azurewebsites.net/wp-content/uploads/2023/12/92-1024x514.png)
7. Go to AI Analyzes section.
![](https://sprongo-blog.azurewebsites.net/wp-content/uploads/2023/12/97-1024x514.png)
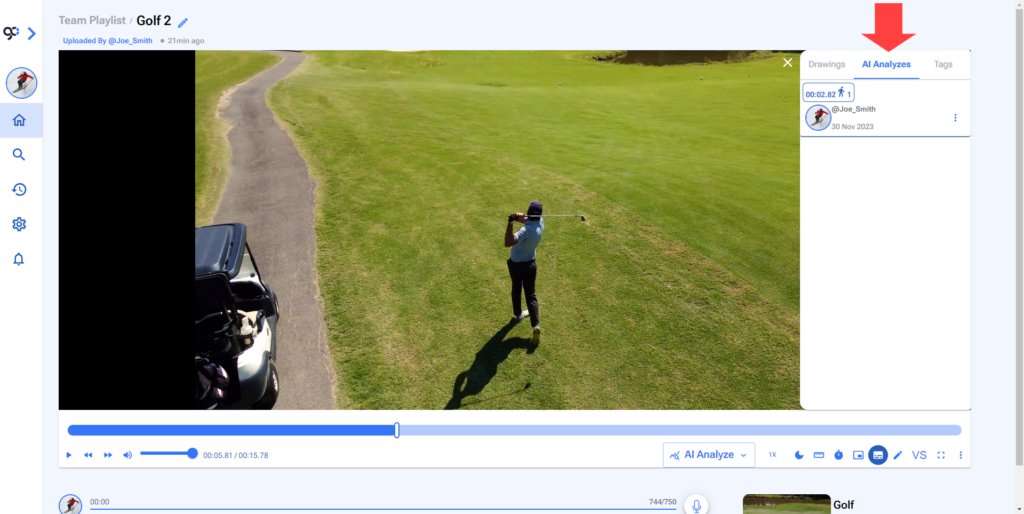
8. Click on the Analysis you want to see.
![](https://sprongo-blog.azurewebsites.net/wp-content/uploads/2023/12/98-1024x514.png)
![](https://sprongo-blog.azurewebsites.net/wp-content/uploads/2023/12/100-1024x514.png)
9. Click on Dark Mode icon to hide the video and look only at the data.
![](https://sprongo-blog.azurewebsites.net/wp-content/uploads/2023/12/99-1024x514.png)